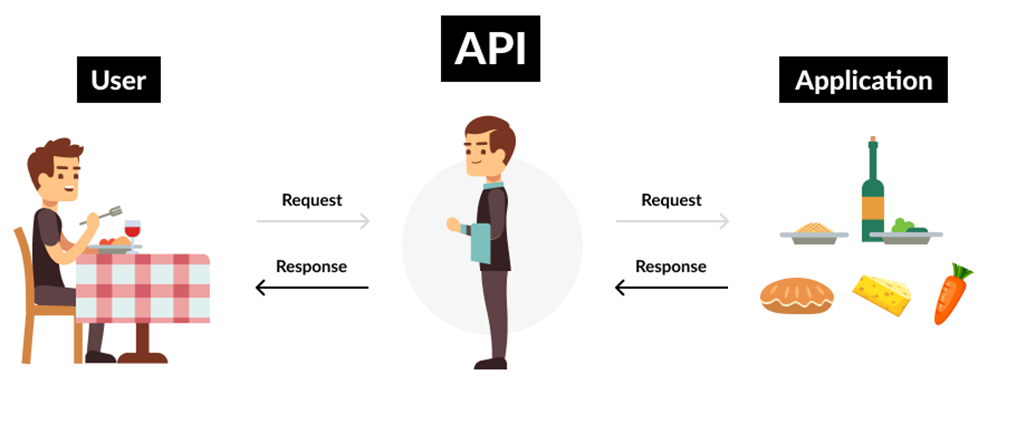
API testing plays a critical role in ensuring the functionality and reliability of your application's backend. In this blog post, we will guide you through the process of API testing using Postman, a popular tool among developers.
Step 1: Set Up Postman
Download Postman: Begin by downloading and installing Postman from the official website.
Open Postman: Once installed, launch the Postman application on your computer.
Step 2: Create a Collection
- Create a New Collection: Collections in Postman help organize your API requests. To create a new collection, click the "New" button and select "Collection." Give it a meaningful name, such as "Petstore API Tests."
Step 3: Add Endpoints to the Collection
Add Create Pet Endpoint:
- Inside your new collection, click "Add Request."
- Name it, e.g., "Create Pet."
- Select the HTTP method (usually POST) and enter the Petstore's "Create Pet" endpoint URL, e.g.,
https://petstore.swagger.io/v2/pet. - In the "Body" tab, select "raw" and choose "JSON (application/json)" as the format.
- Include the request body to create a pet. For example:json
{ "id": 12345, "name": "Buddy", "status": "available" }
- Add Get Pet Endpoint:
- Click "Add Request" again.
- Name it, e.g., "Get Pet."
- Choose the HTTP method (usually GET) and enter the "Get Pet" endpoint URL, e.g.,
https://petstore.swagger.io/v2/pet/{petId}.
Step 4: Write Tests for Each Request
Create Pet Request Tests:
- In the "Create Pet" request, navigate to the "Tests" tab.
- Write tests to verify the response. For example:
- Check if the status code is 200.
- Ensure that a pet is created successfully by verifying if the
idfield is not undefined.
Get Pet Request Tests:
- In the "Get Pet" request, go to the "Tests" tab.
- Write tests to verify the response. For example:
- Check if the status code is 200.
- Verify that the retrieved pet's name matches the expected name.
Step 5: Run the Tests
- Run Tests:
- Click the "Send" button for each request to execute them.
- Review the "Tests" tab to see the test results.
Conclusion:
API testing is a crucial practice for ensuring the functionality and reliability of your applications. Postman simplifies the process by providing a user-friendly interface for creating and running tests. By following the steps outlined in this blog post and using the provided request bodies, you can get started with API testing and ensure that your APIs work as expected.
